AbsoluteTelnet/SSH supports secure SSH logins using smart cards and USB security tokens on Windows. Instead of storing private-key files on disk, you can authenticate using keys backed by a smart card, token, Windows Certificate Store credential, or CNG/NCrypt provider.
This is useful for organizations that require stronger SSH authentication, PIV/CAC-style workflows, ECC/ECDSA smart-card keys, NFC/tap-to-login behavior, or hardware-backed private keys.
- SSH smart-card and token authentication
- Native Windows smart-card integration
- PIV/CAC-style workflows
- ECC/ECDSA smart-card key support
- Windows Certificate Store integration
- CNG/NCrypt-backed authentication
- NFC/tap-to-login smart-card workflows
- SSH, SFTP, Telnet, and terminal emulation in one Windows client
- No OpenSC or PKCS#11 setup required for typical Windows-managed smart cards
Why use smart cards for SSH?
Public key authentication can provide more secure login than password authentication. With public-key authentication you generate a key pair to use to validate your identity instead of using a shared password that both you and the host know. The server is given your public key, and possession of the private key is enough to prove your identity for login. As with public key encryption, this security model hinges on your ability to keep the private key private. Private keys, however, are often written to files. Sometimes these files are password encrypted and sometimes they are not. With today’s threats that include viruses, malicious Trojans, and key loggers, these private keys may be at risk, even the password protected ones. They can be stolen, copied or otherwise hijacked, thwarting your security efforts.
This is where Smart Cards and Smart Tokens come into play. These handy little devices include CPUs and built-in encryption hardware. The sensitive parts of the authentication occur IN THE SMARTCARD!! The private key is generated within the token and can’t be copied because it never leaves the device. Attempts to pry the device open to access the hardware inside will destroy the device, rendering the private key unreadable. Physical possession of the smartcard is a guarantee that you possess the private key (and no one else does). This is the same technology now being employed by banks in your chip-enabled credit cards and the same technology used by the Department of Defense in their CAC (Common Access Card).
How AbsoluteTelnet/SSH supports smart cards
Below, you will find the steps needed to attain this level of security for your own servers without a huge investment in hardware and infrastructure.
In this example, I’ll give you step by step instructions to implement SSH smartcard authentication using a commonly available USB-based smart token called PIVKEY. USB-based smart tokens work the same way as smart cards, but you get to skip the step of installing a card reader. All you need is an available USB port. Support for smartcards has existed since version 4, though more recent versions support additional key types and hardware. Support should be consistent across all versions of Windows. If you use something other than the PIVKEY, the driver download step will be different but most of the other steps should be pretty similar regardless of the device you use. I’ll try to post information about other supported devices as I test them.
Example setup using PIVKEY
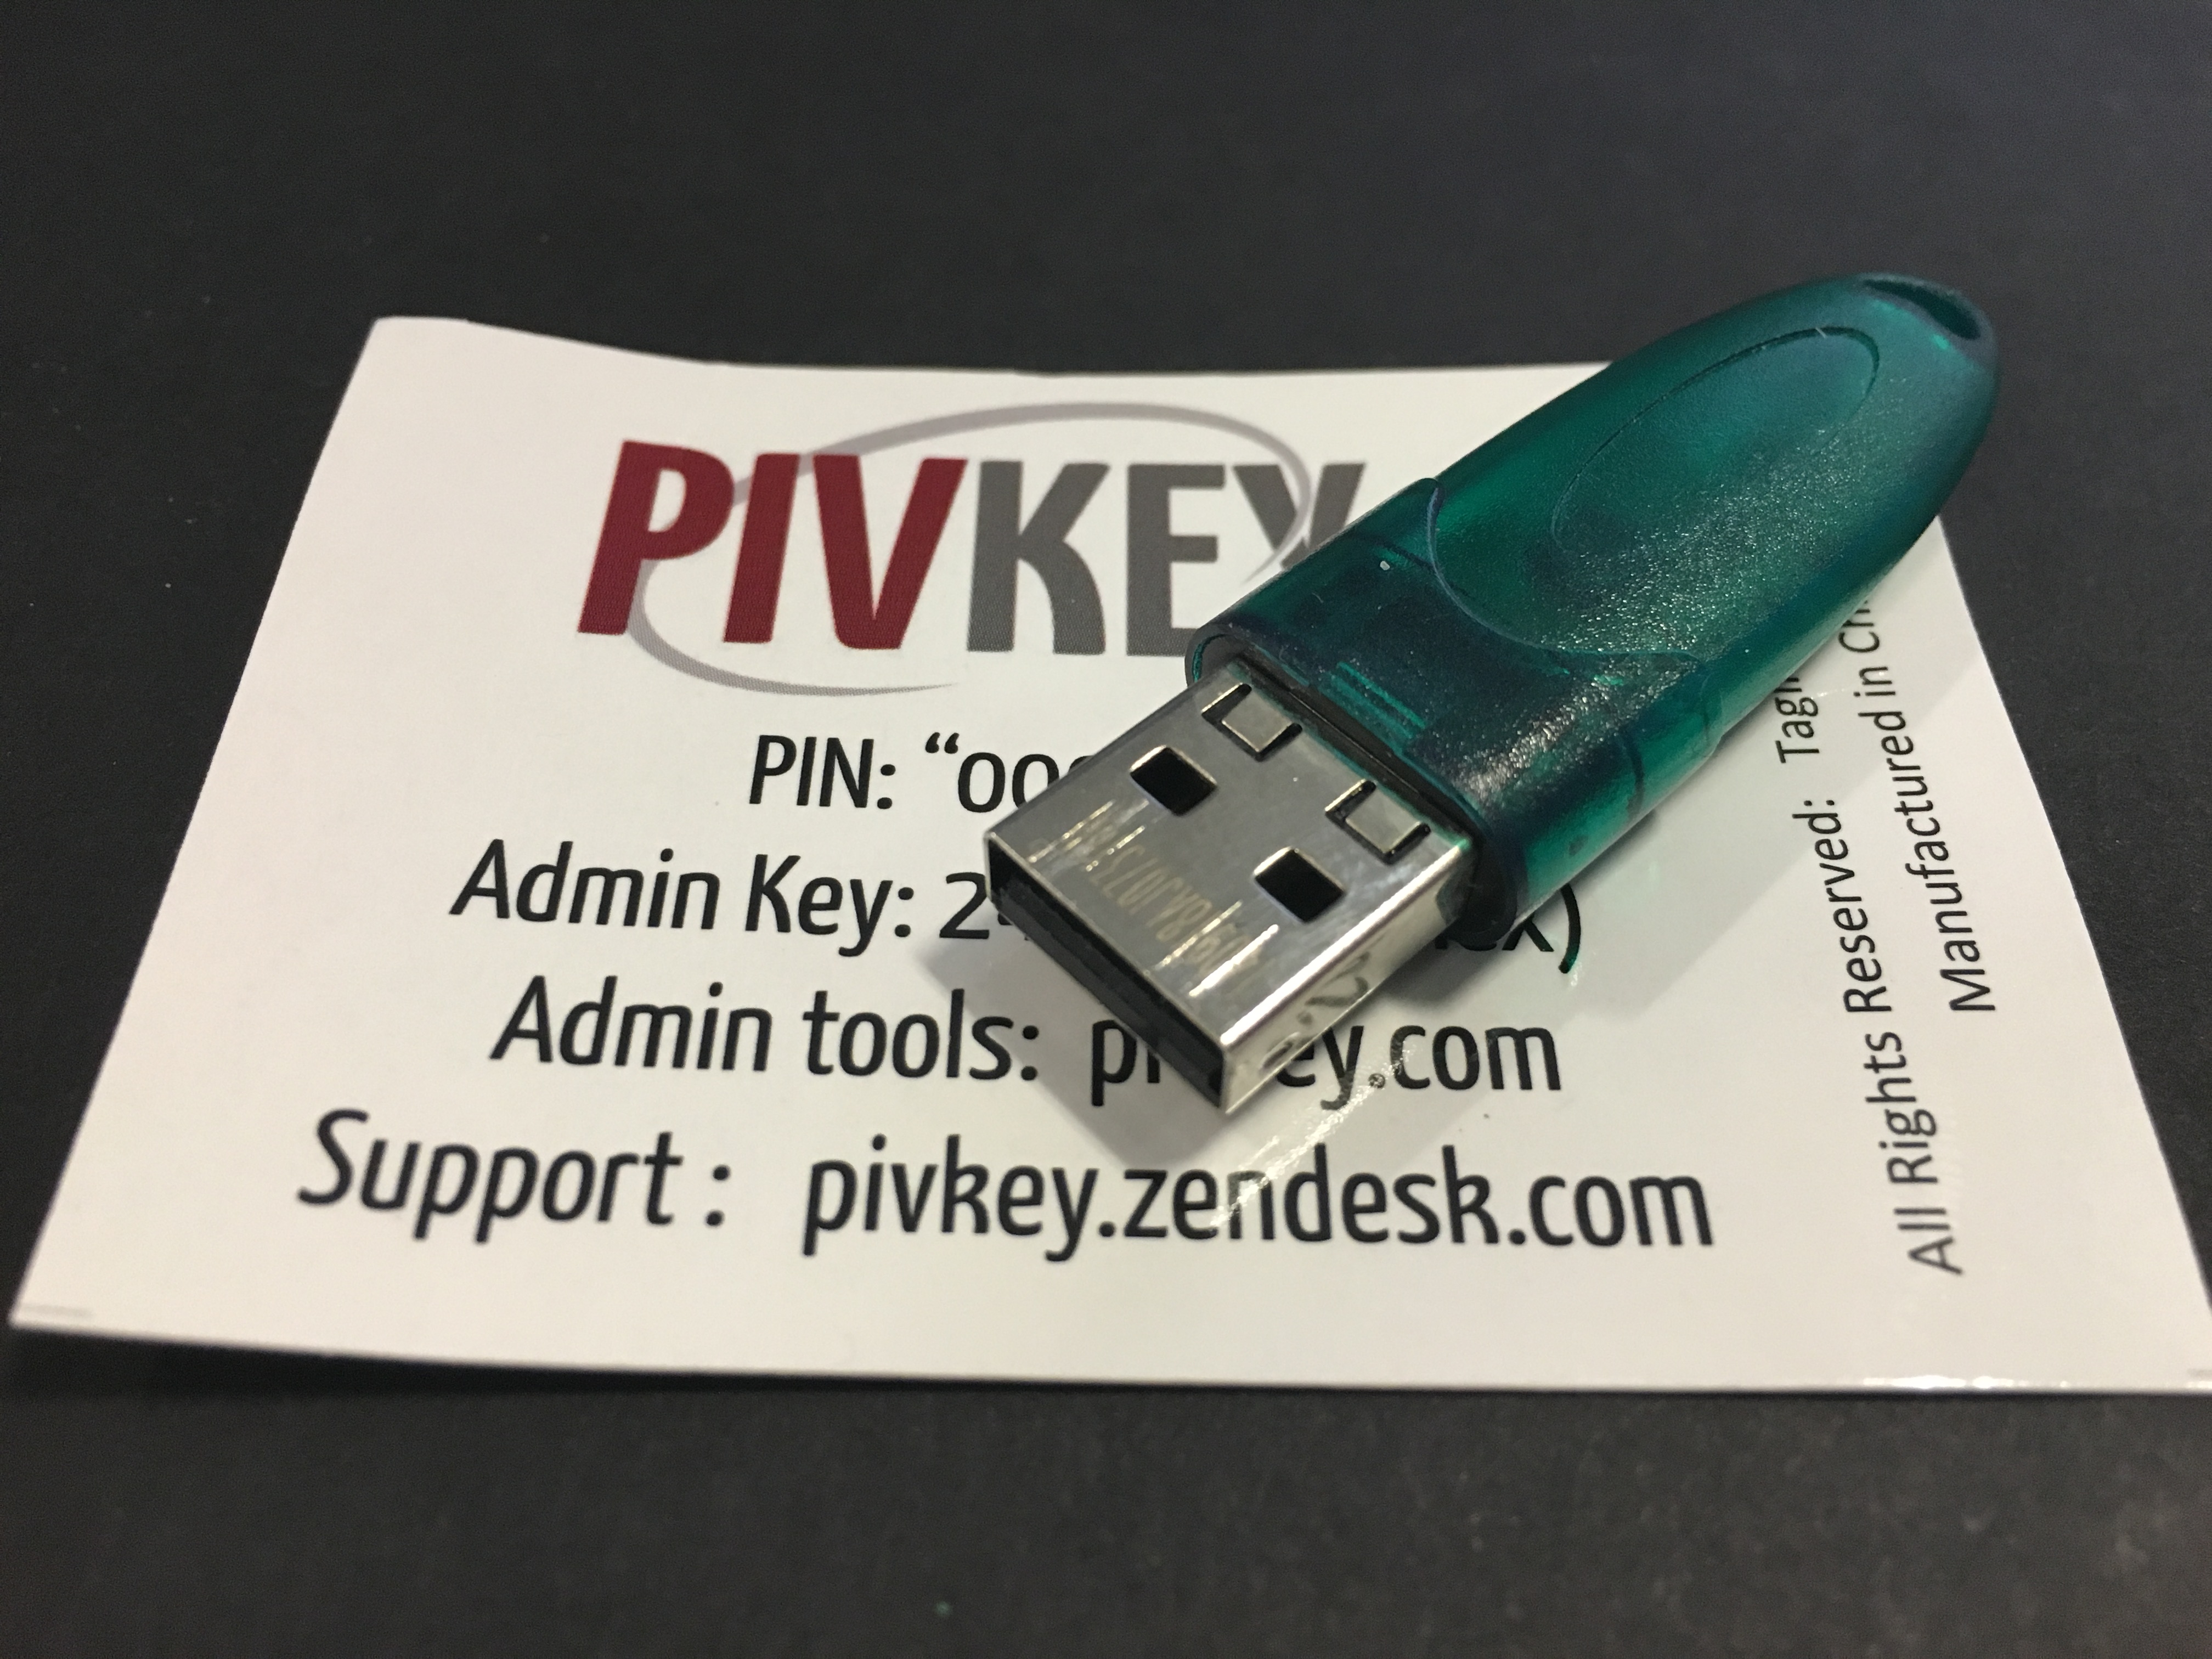
- Purchase a token. In this example, we’ll use the PIVKEY token, purchased from amazon.
2. Download pivkey admin tools here
3. Install PIVKey Administrator from the zip file above, taking all of the default options. vSEC CMS can also be installed to perform operations such as changing the PIN on the card.
4. Insert your PIVKEY token into an available USB slot. Give Windows a few minutes to download and install additional drivers
5. Download, install, and run AbsoluteTelnet/SSH from (https://www.celestialsoftware.net)
6. On the Options->properties->Connection->SSH2 tab, enter the hostname and port number of your server and enable ‘use smart card or USB token’
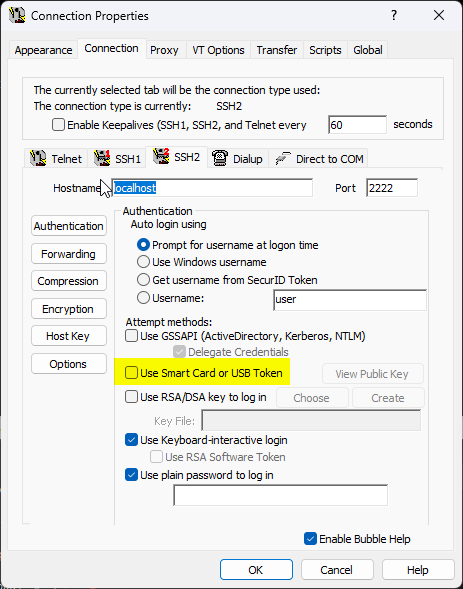
7. With the PIVKEY token still inserted, click ‘View Public Key’ This will bring up details of your public key and some instructions on how to install the public key to your server. These instructions may be different depending on the type of server you’re using. For OpenSSH, it’s as simple as appending the key to your authorized_keys file. This may require you to email the public key to your server admin or make one last connection using your password in another session to append the public key there. If you’ve used file-based public-key authentication, you should be familiar with this part as it is the same.
8. Once the public key has been installed on the server, you’re ready to login with the smartcard. Back at the main AbsoluteTelnet/SSH screen, click the connect button to start the connection. When prompted, enter your username and the PIVKEY pin (default 000000 if you haven’t changed it) Subsequent logins will not require you to re-enter the pin unless you remove and reinsert the token.
Email me if you have further questions: